


Beyond the Chakras: Why Your Aura Holds the Missing Piece
A Modern Guide to Understanding Your Energy, Emotions, and Potential Through the Auratherapy Method
Real change doesn't come from thinking your way calm. It comes from regulating your nervous system — and building a modern ritual you can return to. That's the work underneath everything we do, and it's where this guide begins.
If you've spent any time in the wellness world, you've probably heard about the seven chakras: the Root Chakra helps us feel safe and secure, the Heart Chakra influences love and connection, and the Crown Chakra relates to purpose and higher awareness.
Today, chakra content is everywhere. Major publications, wellness influencers, yoga teachers, and even healthcare practitioners are exploring how the chakra system can help us better understand our emotions, behaviors, and life experiences.
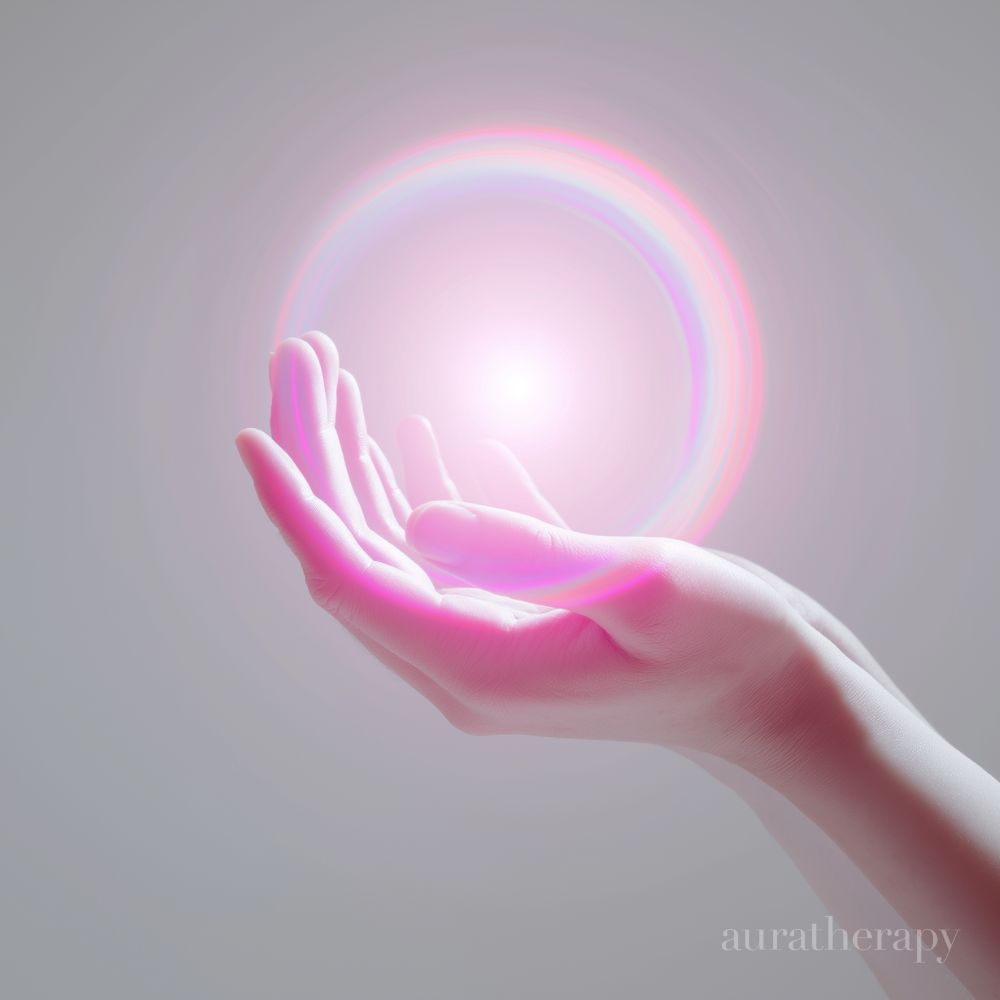
But after conducting more than 15,000 aura and chakra readings over the past five years, we've discovered something important: the chakra system tells only part of the story. To truly understand yourself, you must understand your aura.
What Is the Difference Between Chakras and the Aura?
Think of your chakras as internal operating centers, and your aura as the external expression of everything happening inside them. Your chakras influence how energy moves through your body; your aura reflects the patterns created by that movement.
If your chakras are the engine, your aura is the dashboard. One shows what's happening — the other shows the result.
Most people focus exclusively on balancing their chakras without ever looking at the larger field surrounding them, and without asking the more practical question underneath it all: is my nervous system in a regulated state, or a reactive one? That's like trying to diagnose a business by looking only at individual departments instead of the entire organization. The full picture requires both.
The Missing Link in Modern Wellness
At Auratherapy, we work this through a single framework: the Auratherapy Method — Diagnose → Regulate → Repeat. It's three steps, but they aren't siloed. Each one carries threads of the others, which is what turns a one-time insight into a lasting shift.
Step 1 — Diagnose. Understand your energy. This is where we read your current state through Aura Analysis and Chakra Assessment, paired with honest self-awareness. Diagnosis is never the end point — it's the map. What it reveals points directly to what you'll regulate next, and what's worth repeating.
Step 2 — Regulate. Shift your state through scent, breath, and ritual. This is the operational core of the Method. Aromatherapy and breathwork become the tools that move you out of the patterns diagnosis revealed. And every act of regulation is also a small act of self-awareness — it teaches you what your system responds to, sharpening the next diagnosis.
Step 3 — Repeat. Create new patterns. Through intentional, consistent ritual, regulation stops being a rescue and becomes a baseline. Each repetition makes the next diagnosis clearer and the next regulation faster. The three steps loop — and the system holds more, with less effort. Vibrate Higher.
Our approach is not about predicting the future. It is not about fortune telling. It is not about magical thinking. It is about self-awareness and regulation.
When people understand their patterns — and learn to shift their state on purpose — they often gain clarity around stress, burnout, relationships, confidence, communication, purpose, creativity, and personal growth.
The goal is not to label someone. The goal is to create awareness. Awareness creates choice, and choice creates transformation.
What We Learned From 15,000 Aura and Chakra Readings
After thousands of readings, we've observed something fascinating: most people don't come to us because they're curious about energy. They come because they're experiencing a challenge. They feel stuck, overwhelmed, disconnected, exhausted, or unfulfilled — and the reading often reveals these patterns before they can put them into words.
Someone experiencing chronic stress may show depletion across multiple chakra centers, and a nervous system stuck in a protective state. Someone navigating a major life transition may display shifts in the colors and balance of their aura field. And someone struggling with confidence may present very differently from someone struggling with communication, even when their symptoms look similar on the surface.
Again and again, we see the same truth: the body tells a story, the aura reflects that story, the chakras help explain it — and regulation is how you rewrite it.
Why Scent Is the Fastest Way to Influence State
Ancient traditions understood something modern science now confirms: scent directly influences the brain. Unlike other senses, smell has a direct pathway to the areas involved in emotion, memory, and behavior. That's why a single scent can instantly transport you to childhood, calm your nervous system, or help you focus.
At Auratherapy, scent isn't decoration — it's a regulation tool. It's one of the most underutilized ways to shift state, and it works best when it becomes intentional. This is where the chakra system becomes practical: instead of choosing a fragrance solely because it smells nice, you can choose a scent based on what you need most.
Need confidence? Support your Solar Plexus Chakra. Need connection? Focus on your Heart Chakra. Need grounding? Work with your Root Chakra. Need clearer communication? Support your Throat Chakra.
This transforms fragrance from decoration into a daily ritual. A perfume becomes a reminder. A breath becomes a practice. A scent becomes an anchor.
The Evolution of Chakra Healing
For decades, chakra education has remained largely unchanged, with many teachings focused exclusively on balancing individual energy centers. While valuable, this approach often overlooks the bigger picture.
Human beings are not isolated systems. We are dynamic, evolving fields constantly interacting with our environments, relationships, emotions, and experiences — and a nervous system that's always reading those interactions for safety.
That's why Auratherapy integrates both chakras and the aura. The chakras help explain what is happening internally; the aura helps reveal how those patterns are expressing externally. Together they create a more complete map — and the Method turns that map into a practice.
The Future of Wellness Is Self-Knowledge
The wellness industry is moving beyond quick fixes. People are looking for tools that help them understand themselves — they want data, patterns, insight, and personalization.
The chakra system offers a language for understanding our inner world. The aura offers a broader lens through which to view our growth. Scent, breath, and ritual provide the practical daily tools for creating change. Together, they form the foundation of the Auratherapy Method — not because we need another wellness trend, but because we need better ways to understand and regulate ourselves.
After more than 15,000 readings, one lesson stands above all others: transformation begins the moment awareness meets intention. And sometimes all it takes is a single breath.
Ready to understand your own patterns? Book an Aura Reading and start your practice. Vibrate Higher.
By Laura McCann, Founder of Auratherapy and author of Auratherapy: A Guide to Adoring Yourself, Your Chakras, and Your Aura.
Frequently Asked Questions
What is the difference between chakras and the aura?
Your chakras are internal operating centers that influence how energy moves through your body; your aura is the external expression of those patterns. If the chakras are the engine, the aura is the dashboard — one shows what's happening, the other shows the result. The Auratherapy Method reads both for a complete picture rather than chakras alone.
What is the Auratherapy Method?
The Auratherapy Method is a self-awareness framework built on three steps — Diagnose → Regulate → Repeat. You diagnose your current state through aura and chakra insight, regulate it through scent, breath, and ritual, and repeat until new patterns hold. Its goal is nervous-system regulation and awareness, not prediction or fortune telling.
Can scent really change how you feel?
Yes. Smell has a direct pathway to the brain regions tied to emotion and memory, so a single scent can calm, focus, or shift your state quickly. Auratherapy uses essential-oil–based aroma perfumes intentionally, turning fragrance into a daily regulation ritual instead of decoration.
Which scent should I choose for what I want to feel?
As a starting map: Solar Plexus for confidence, Root for grounding and calm, Heart for connection, and Throat for clearer communication. Choosing a scent by what you need — rather than by what simply smells nice — is what turns a perfume into a tool for self-awareness.
Is an aura reading scientific or spiritual?
It's best understood as a self-awareness tool rather than a diagnosis or a prediction. An Auratherapy Aura Reading surfaces emotional and energetic patterns and includes a 14-Page Aura Report, giving you a practical starting point for ritual and regulation.
Do I need experience or belief to start?
No. You don't need prior experience or any particular belief — the chakra system works simply as a practical language for understanding stress, energy, and emotion. The results come from consistent ritual and regulation, which is why the Method is designed to Diagnose, Regulate, and Repeat.
Explore Auratherapy
- Chakra Balancing Perfume Oils — tools for chakra mastery
- Aromatherapy Perfume Sprays for Chakra Healing — spray, breathe, align
- Discovery Sets — chakra oils, aura sprays & natural perfume sets
- Book an Aura + Chakra Reading — your 14-page report
- Aura Events & Chakra Workshops — Vibe & Glow experiences